 |
| Timber studs and dwangs (a nogging if you're from Englandshire) all fitted at 600mm centres and ready to receive new plasterboard. |
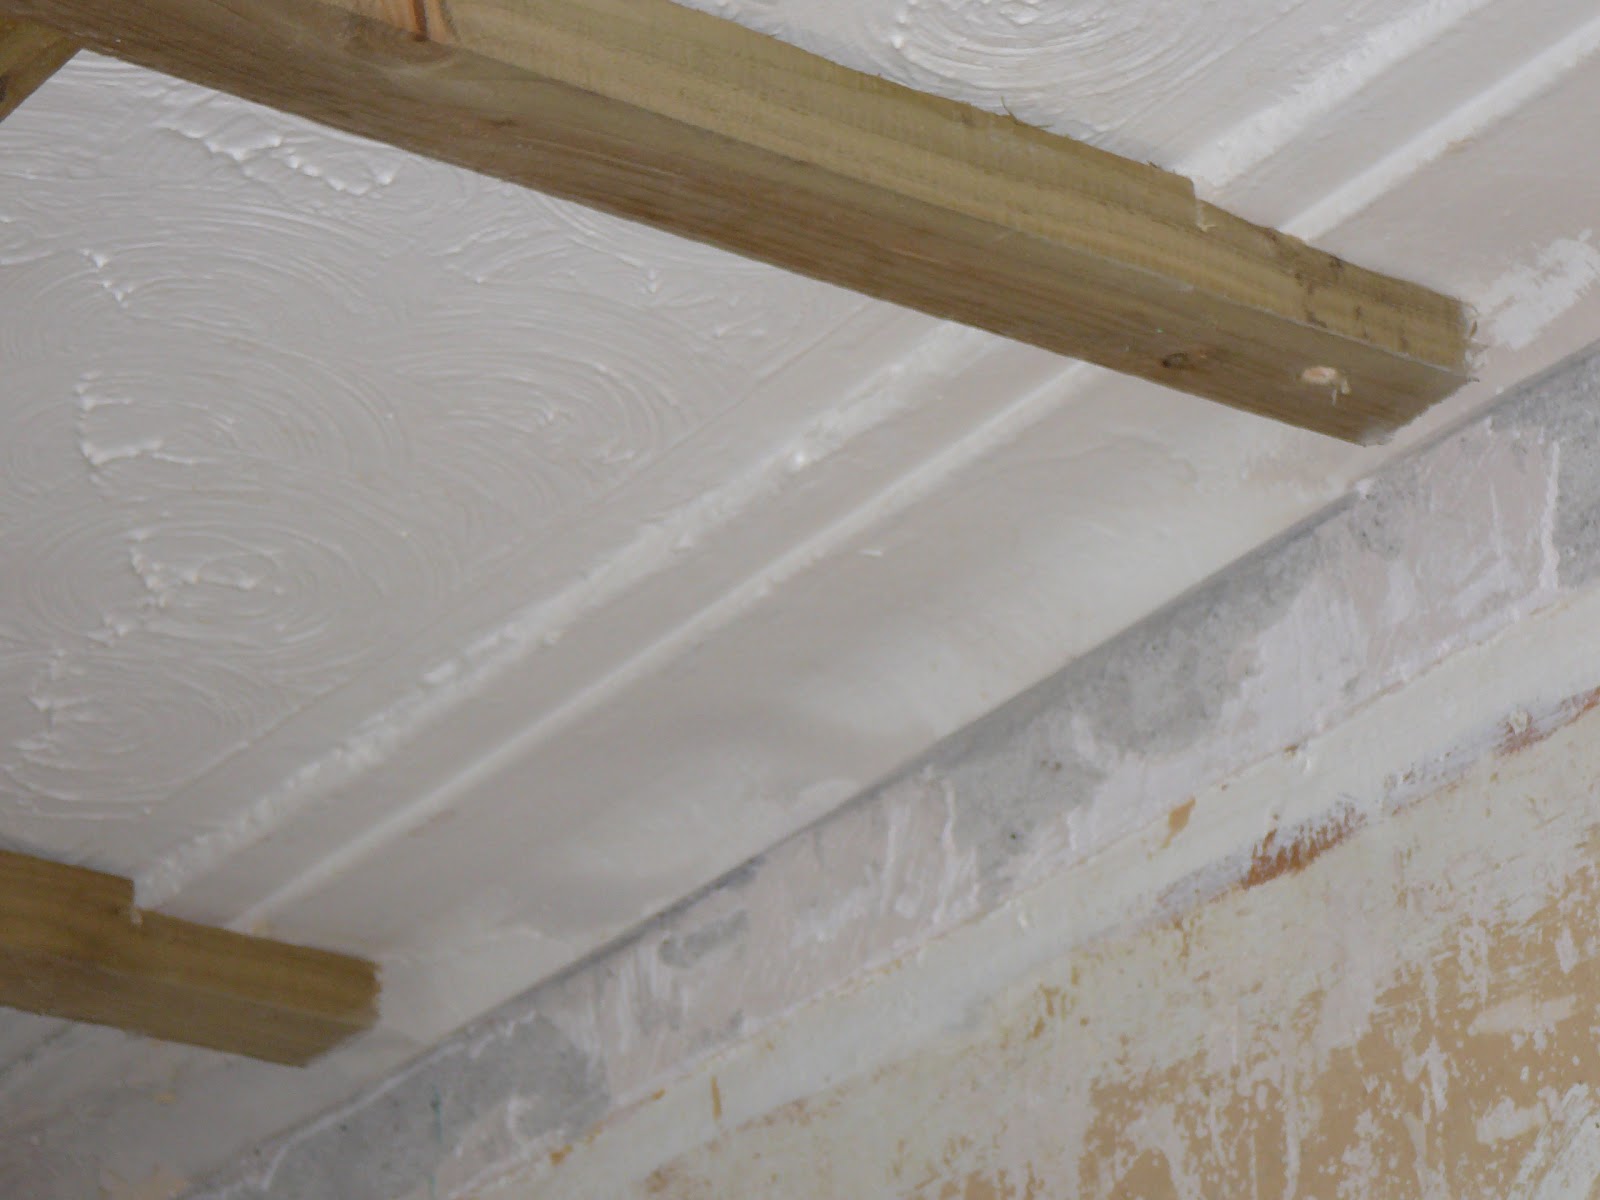 |
| The new timber studs were 'step cut' to fit round the existing plaster cornice to ensure that the new plasterboard had a fixing near its edge. You can see the 3-4 inch reduction in the cornice and it seems a shame to do this, but you can also see that it is thick with artex and paint and that to plaster over the artex would have lost the stepped feature. |
 |
| The existing floor/ceiling joists were marked out and new 50mmx38mm timber studs were fitted at right angles to the joists at 600mm centres to ensure sufficient fixing for the plasterboard. The studs were fixed by screwing through the ceiling into the joist with 3" No.10 screws. |
 |
| The cornice was the original solid plaster type with a nice step feature but unfortunately it had several coats of paint on it and to plaster over the artex would have meant losing the step feature. The ceilings in the house at 2.6m are higher than modern ceilings so the decision was made to lower the ceiling 50mm by fitting timber studs and plasterboard. To ensure that the existing plaster cornice wouldn't obstruct the new celing and coving it had to be trimmed by 3-4 inches all round, quite a dusty job! |
 |
| Decor was OK. Artex is a bit heavy and the coving and woodwork has several coats of paint on it. Previous owners were smokers and the paintwork suffers from considerable nicotine staining. Time to start work in the new house and we've decided to kick things off in the living room. The decoration was OK, just not our style, so the plan is to completely change the style of the room by creating a feature wall and using light colours and flat surfaces to bring a bit of brightness to the room. |
No comments:
Post a Comment