Monday 20 May 2013

Living Room Ceiling 2

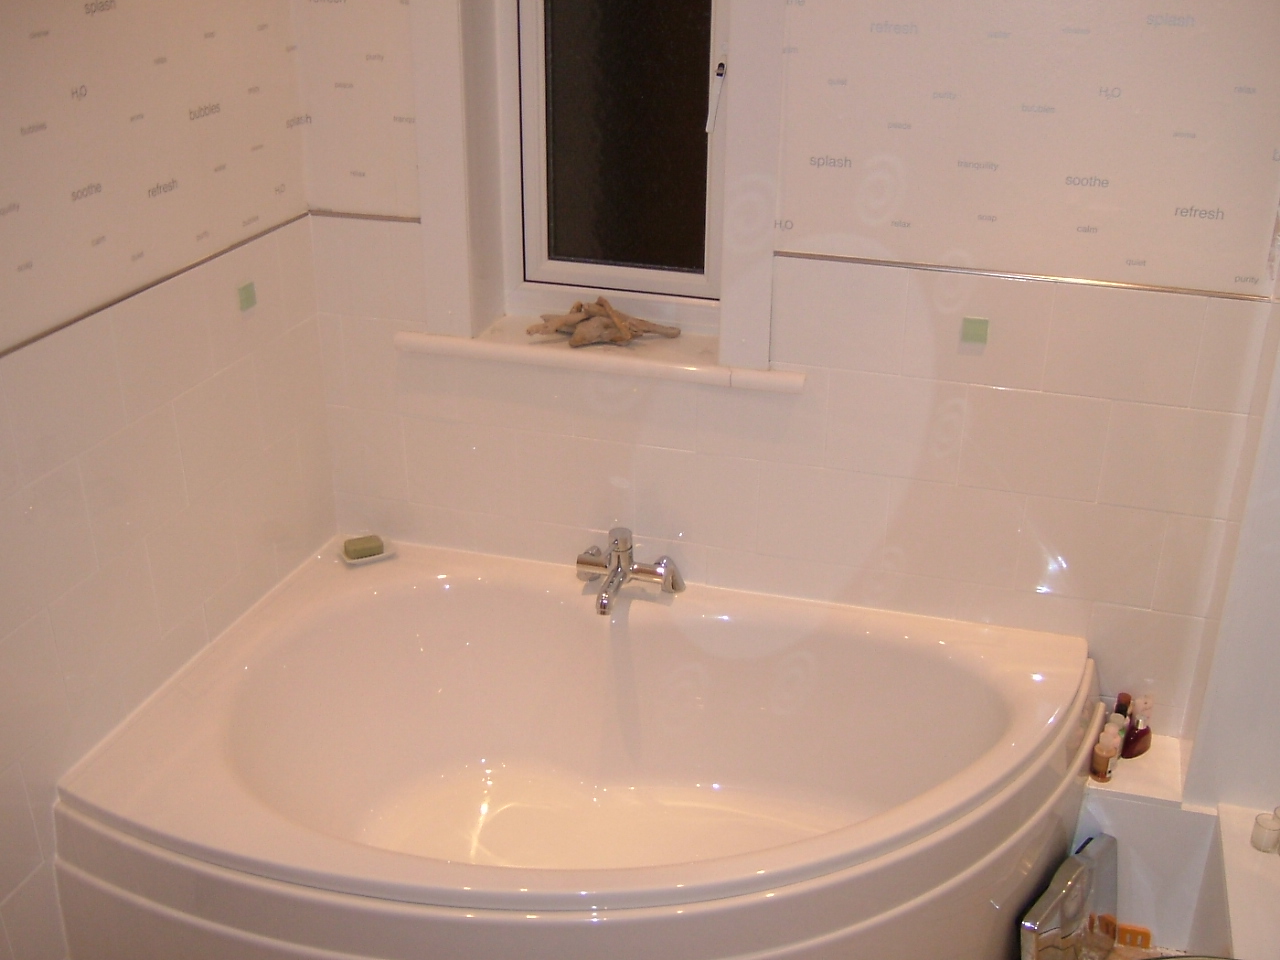
And there it is, ceiling lowered by 50mm, ready to be taped and filled and ready to have the new coving fitted. Before you ask, No, the light fitting is not staying!

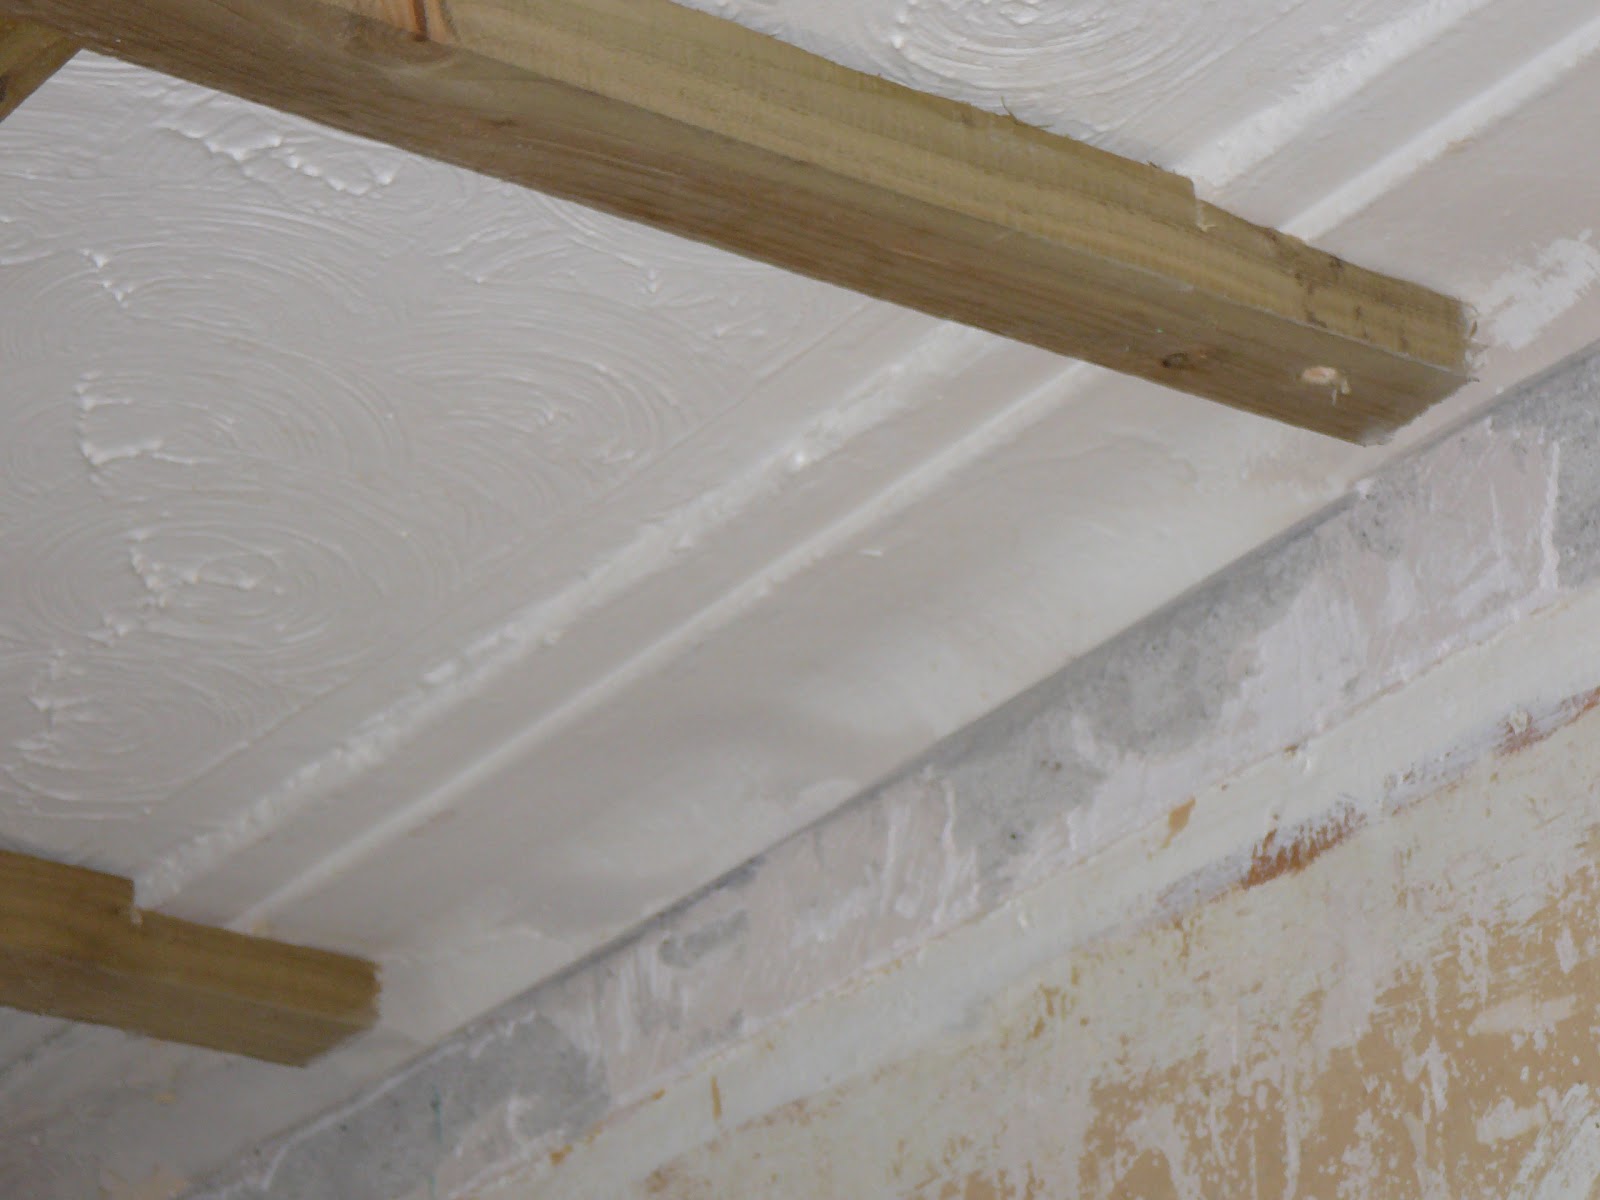
The other 'half' of the living room required sheets which were 1.8m in length, which was slightly shorter than the length of the staging.  Therefore I had to change my method for lifting the sheet in place and I used two lengths of 50mmx50mm timber to support the sheet along its length, lifting it up into its final position using two pieces of timber across the 50mmx50mm.

I repeated the process for each sheet and before long one 'half' of the living room was done!

With the sheet lying across the staging, I lifted it up into place using some spare 50mmx50mm timber.  This brought the sheet in at almost the perfect height and with some minor movement left-right, forwards and backwards it was ready for securing in place.  I had the option of nailing or screwing and i opted for screwing as it allowed me to fully control the incremental tightening in place as I worked across the sheet, it also resulted in much less vibration and a lot less noise.

I borrowed the staging from my father-in-law and conveniently it was only 125mm shorter than the finished height of the new ceiling.  To protect the plasterboard and support it prior to fitting I taped 2 planks of wood across the uprights of the staging then lifted the plaserboard up and slid it across onto these.
 
 
After studding out the ceiling it was time to start fitting the 8'x4' sheets of plasterboard.........myself!

Living Room Ceiling 1


Timber studs and dwangs (a nogging if you're from Englandshire) all fitted at 600mm centres and ready to receive new plasterboard.
The new timber studs were 'step cut' to fit round the existing plaster cornice to ensure that the new plasterboard had a fixing near its edge. You can see the 3-4 inch reduction in the cornice and it seems a shame to do this, but you can also see that it is thick with artex and paint and that to plaster over the artex would have lost the stepped feature.
The existing floor/ceiling joists were marked out and new 50mmx38mm timber studs were fitted at right angles to the joists at 600mm centres to ensure sufficient fixing for the plasterboard.  The studs were fixed by screwing through the ceiling into the joist with 3" No.10 screws.
The cornice was the original solid plaster type with a nice step feature but unfortunately it had several coats of paint on it and to plaster over the artex would have meant losing the step feature.  The ceilings in the house at 2.6m are higher than modern ceilings so the decision was made to lower the ceiling 50mm by fitting timber studs and plasterboard.  To ensure that the existing plaster cornice wouldn't obstruct the new celing and coving it had to be trimmed by 3-4 inches all round, quite a dusty job!


Decor was OK.  Artex is a bit heavy and the coving and woodwork has several coats of paint on it.  Previous owners were smokers and the paintwork suffers from considerable nicotine staining.


Time to start work in the new house and we've decided to kick things off in the living room. The decoration was OK, just not our style, so the plan is to completely change the style of the room by creating a feature wall and using light colours and flat surfaces to bring a bit of brightness to the room.

Friday 17 May 2013

Previous Work - Hall Ballustrade

Job completed, including solid oak flooring, new skirtings and facings, oh and a piano!
This job included lining the stairwell walls and ceiling with plasterboard to save having to strip a horrendous amount of woodchip wallpaper which had several coats of paint, not to mention improving the fire protection around the staircase.   Original stringers were retained and overclad with pine furniture board, downlights were fitted in the lower hall along with new coving.
Works at halfway stage.
1970s stringer style ballustrade stripped out. Walls lined with plasterboard, taped and filled and 1st coat of emulsion.


Previous Work: Garden Hut and Decking - Part 2


Previous Work: Garden Hut and Decking - Part 1


Thursday 16 May 2013

Previous Work - Kids play hut


Kids play hut - internal


Kids play hut. 
Timber frame, clad with sheet ply, 'wrapped' in roofing felt and overclad with log offcuts to create log cabin style.


Previous Work - Bedrooms

Jungle HQ Bedroom.

New York wall mural and painted king-sized bed with hand drawn musical score


Previous Work - Fascia


New Fascia with Gutters


New UPVC Fascia with under tile guard


 Rotten Fascia - No need to say anymore!


Previous Work - Bathroom

Some DIY work from a previous house.


Bathroom View 2 - After
Bathroom View 2 - Before
One day those tiles will come back into fashion....honest.

Bathroom View 1 - After


Bathroom View 1 - Before
The best of 1970s tiling with wallpapered bath panel

Wednesday 15 May 2013

New Hoose

Decided to start a wee blog to record and publish my various planned DIY escapades over the next couple of years.  Having recently moved house there will be lots to do!

Updates and photos to follow soon, once i work out how to use blogger.com