Monday, 18 November 2013

Can Ye Tell Whit It Is Yit?

 I had a wee notion to make something out of the various bits of wood that were leftover from other projects
 

A quick brush with undercoat

Pieces to form the integral squares were marked and cut
 
(can ye tell whit it is yit?)
 

A quick coat with the final colour to ensure complete coverage once put together

Here are the pieces being assembled in their final form

Final shape and final coat of paint
Just one more small part to be fitted
 
(can ye tell whit it is yit?)
 
 
.......


.......


.......


.......


A shabby chic lightshade for my daughters bedroom

Sunday, 27 October 2013

Dining Room Door Replacement

Following on from replacing the living room door last month, we have now replaced the adjacent living room door with it's matching partner.

The old doors weren't in a particularly bad condition, we just wanted to change them to something that matched our planned décor.

The oak veneered doors which we bought needed to be reduced in width.  The previous door had to be reduced by approx. 3/4" and unfortunately this couldn't be done due to the thin edging strip on these doors, so I had to widen the door frame.  However, this door only had to be reduced by 1/2", so I decided to use my electric plane to take 1/4" off of each edge.

As you can see, there's not much of an edging left after taking 1/4" off.

I fitted the hinges in the workshop before taking the door into the house for hanging.  I'm using three 3" stainless steel ball-bearing hinges on each door because the doors are quite heavy and i'm spacing these to position two in the top half of the door and one in the bottom half (8" up from the bottom).  These should give a smooth action and minimise hinge wear and the finish will also match the handles. 
 
The latch and art deco handles were also fitted in the workshop prior to hanging.  This kept the majority of the mess in the workshop (which is easier to clean up)

and there we have it, the door hung and ready for its 1st coat of varnish.  As before, the door was brushed down to remove dust and then wiped down with a clean cloth soaked in white spirit.

The camera angle is a bit tight, but here are the two doors side by side. The right hand side door has been varnished, the left hand door is ready to be varnished.

First coat of varnish applied.  Before the 2nd coat is applied the door will be gently rubbed down with steel wool then wiped down with white spirit to give a nice smooth finish coat.

Sunday, 20 October 2013

A Wee Quickie In the Cupboard!

One of the bedroom cupboards didn't offer much room for storage
 
The cupboard backed onto an area of wasted space above the stairs and I decided to blank off this wasted space and knock the cupboard through to provide more storage.


This may prove just to be a temporary job if the plans for a loft conversion can be progressed.

First step was to frame out the space.  I used some 2" x 1 1/2" leftover from another job.  I also framed out the slope directly over the steps. 

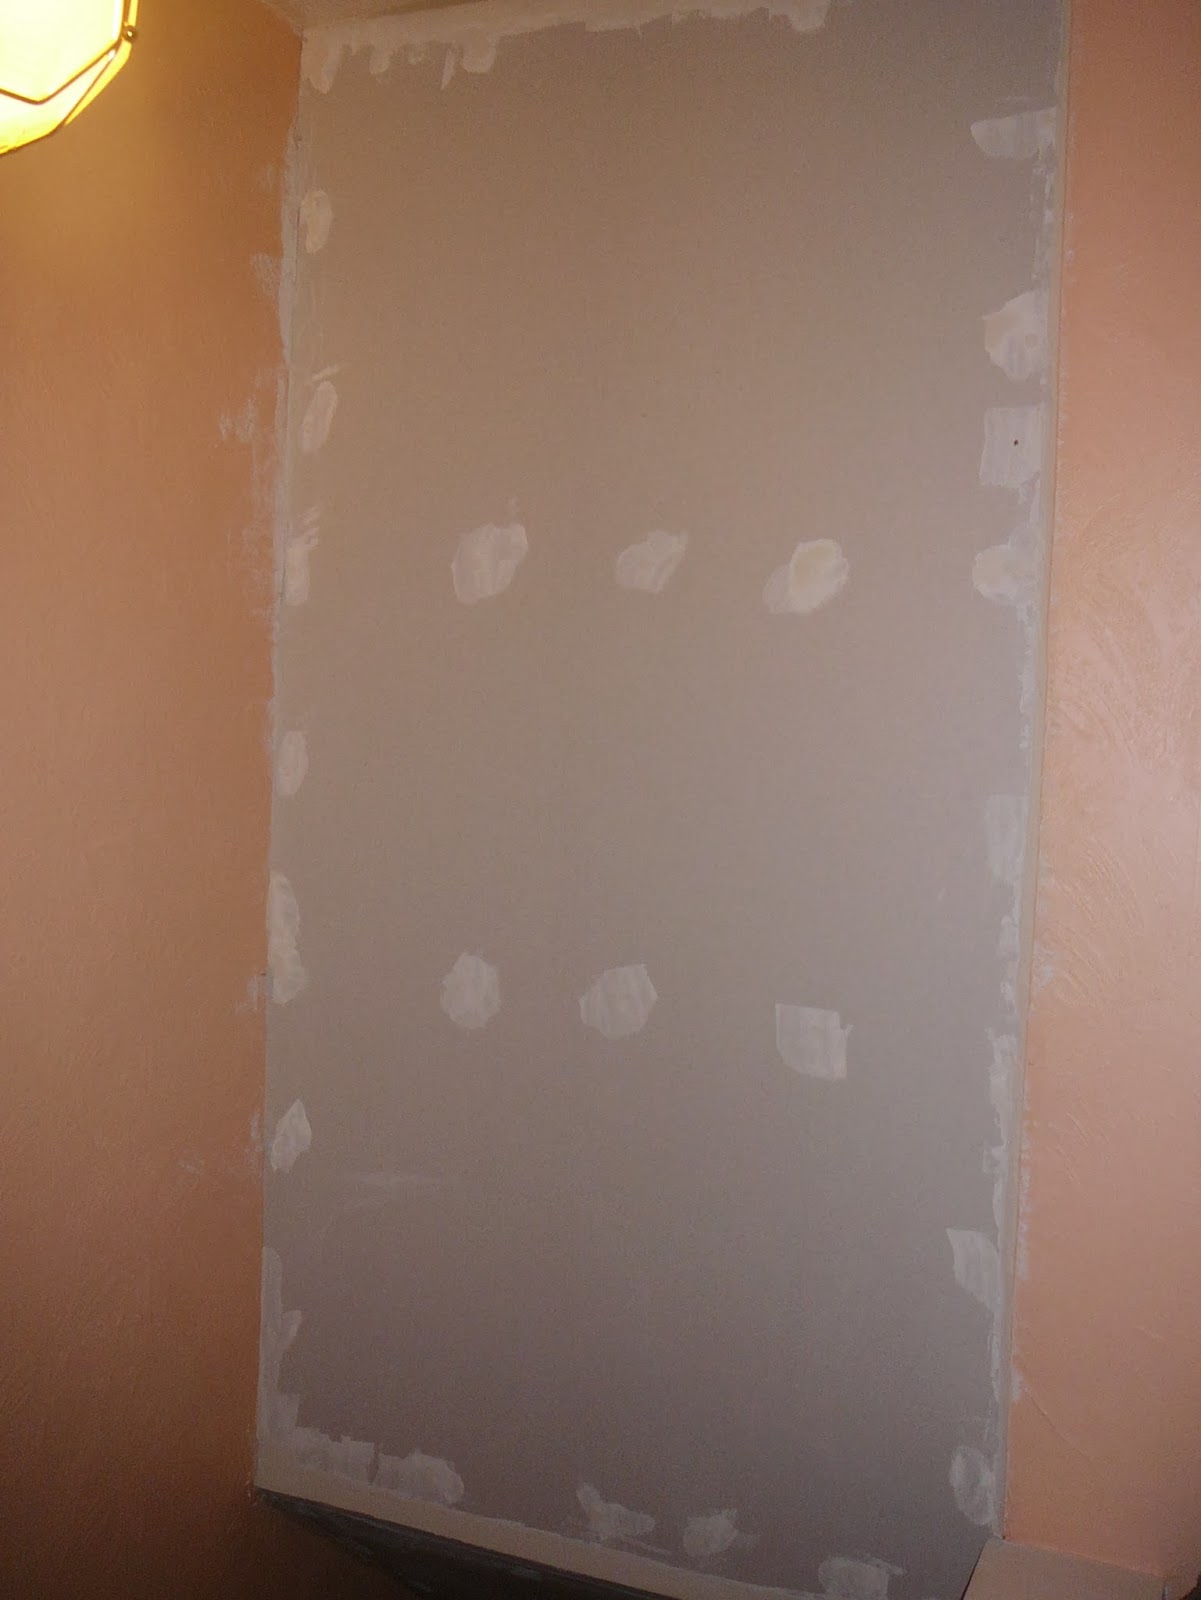
After sheeting the area above the stairs in plasterboard I knocked through from the cupboard and also sheeted the inside of the cupboard in plasterboard to give a finished surface.

Once sheeted the screw holes were filled, ready for a wee rub with sandpaper and eventually a coat of emulsion.

Job completed and the cupboard was promptly filled with a load of kids toys!

Monday, 7 October 2013

New Living Room Door

The new living room door getting it's first coat of Ronseal satin varnish.  Prior to varnishing I gave the door a quick rub with fine sandpaper then wiped it down with white spirit to remove the dust and remove any greasy fingerprints or dirty marks.  I've masked off the glazing panels to keep the varnish off of the glass. 

One door hung.  Looks simple in the pics, but it was a lot trickier than it looked.  The oak edging on these doors is only about 5mm thick which really limits how much you can reduce the door by and I required a 12mm reduction.  The only other option, other then renewing the door frames, was to widen the opening.  I used the router for this, but wouldn't want to have to do it again in a hurry. 

A set of Art Deco handles was purchased to match the 'theme' of the room
 
and they polished up nicely.


and there we have it.  A nice new oak door, complete with 2nd coat of varnish which was applied after a gentle rub with steel wool and a wipe down with white spirit. 

Monday, 16 September 2013

Living Room - Wallpaper

 
Hanging lining paper on the newly plastered wall to ensure a good surface for the wallpaper.  Using lining paper should limit shrinkage of the wallpaper by slowing down the drying rate of the paste (stopping the plaster sooking all the moisture out of the paste).  As far as I am aware, it doesn't make bumps disappear or improve insulation qualities (as some interwebbers suggest)


Starting to hang the paper on the 3 'plain' walls.  I've heard a lot of people's 'top tips' since I've been DIYing - always start in a corner/never start in a corner/work away from the window/start behind the door, etc. usually followed up by "so that you don't see the joints." However, my experience is that as the paper is being butt jointed (i.e. edge to edge) rather than overlapped you don't see the join from one angle any more than another.  What I tend to do is measure out the rolls and start in a place which means i'll end with the easiest cut (i.e. don't leave yourself a 3 inch wide strip to cut from a full roll and have to fit that round a window).


With the 3 main walls completed it was time to make a start on  the feature wall.  We picked wallpaper by the Art Noveau fashion designer Barbara Hulanicki
 

Hanging this wallpaper required a slightly different planning approach than the 'plain' wallpaper.  As it was the feature wall I started by hanging a central strip of wallpaper and working out in both directions to ensure that the pattern was centred on the wall.


The wallpaper was technically difficult to hang as the pattern was contained on each single strip with no edges to match.  This meant that to keep the pattern level each strip had to be checked with a spirit level to ensure that the pattern was perfectly horizontal.  The alternative option was to offset the pattern, but keeping the pattern perfectly level fitted more with the straight lines of the accompanying Art Deco style of the coving, fireplace, mirror and candle holders.


And there we have it.  Wallpapering complete.  Carpet and curtains next.  Oh, and a lampshade!

Sunday, 1 September 2013

Living Room Fireplace

We've purchased a few Art Deco styled items for the Living Room.  It's all coming together now!
 
and here we have the finished article in cream stone effect and metallic grey (still looking for a new carpet).  The double socket will be moved soon to give a more even sided look.


None of the pictures taken really bring out the stone effect of the spray paint, this is the best one


The fire surround was dismantled pretty easily and it's component parts were sanded down, sprayed with a white primer then given two coats of textured spray paint to create a stone effect.

 
The inset fireplace was removed from the surround, dismantled, rubbed down and spray painted metallic grey.  The finish was a bit too matt, but a quick spray of clear lacquer put a bit of a shine on the finished article.
 
The original fireplace which was here when we moved in.  It was in good condition but the brass and mahogany colour scheme didn't fit with our décor plans, so we decided to keep it and change the colour.

Tuesday, 2 July 2013

Living Room - Feature Light & Coving

 Coving fitted, light plugged in and walls painted.  Ready for skirting to be fitted and the wallpaper to be hung.


A couple of licks of paint really brought out the stepped feature and I think that this will fit well with the intended Art Noveau & Art Deco influenced style of the room.
 

 Coving fitted and light turned on.

A piece of timber was fixed to the wall to provide a fixing for the strip lights.  The wiring for the lights was hidden by running it behind the wall and down to a socket.  It was handy that there used to be an old boiler cupboard nearby :-)   You can see that the stepped feature of the coving was created by fitting strips of plasterboard to the ceiling prior to fitting the coving.  These strips were cut at 115mm wide to protrude past the coving, with the coving extending down past the LED strip light so that it can't be seen.  Hiding the lighting required the coving to be cut and fitted as if it were being fitted around a chimney breast.
 
Once the plaster had dried work began fitting the coving.  In an earlier blog I mentioned how the original cornice had a stepped feature and we have decided to replicate this feature.  We had also decided to include a feature light which would provide some background lighting in the room.  We found LED strip lights in IKEA which were very reasonably priced.