Monday, 16 September 2013

Living Room - Wallpaper

 
Hanging lining paper on the newly plastered wall to ensure a good surface for the wallpaper.  Using lining paper should limit shrinkage of the wallpaper by slowing down the drying rate of the paste (stopping the plaster sooking all the moisture out of the paste).  As far as I am aware, it doesn't make bumps disappear or improve insulation qualities (as some interwebbers suggest)


Starting to hang the paper on the 3 'plain' walls.  I've heard a lot of people's 'top tips' since I've been DIYing - always start in a corner/never start in a corner/work away from the window/start behind the door, etc. usually followed up by "so that you don't see the joints." However, my experience is that as the paper is being butt jointed (i.e. edge to edge) rather than overlapped you don't see the join from one angle any more than another.  What I tend to do is measure out the rolls and start in a place which means i'll end with the easiest cut (i.e. don't leave yourself a 3 inch wide strip to cut from a full roll and have to fit that round a window).


With the 3 main walls completed it was time to make a start on  the feature wall.  We picked wallpaper by the Art Noveau fashion designer Barbara Hulanicki
 

Hanging this wallpaper required a slightly different planning approach than the 'plain' wallpaper.  As it was the feature wall I started by hanging a central strip of wallpaper and working out in both directions to ensure that the pattern was centred on the wall.


The wallpaper was technically difficult to hang as the pattern was contained on each single strip with no edges to match.  This meant that to keep the pattern level each strip had to be checked with a spirit level to ensure that the pattern was perfectly horizontal.  The alternative option was to offset the pattern, but keeping the pattern perfectly level fitted more with the straight lines of the accompanying Art Deco style of the coving, fireplace, mirror and candle holders.


And there we have it.  Wallpapering complete.  Carpet and curtains next.  Oh, and a lampshade!

Sunday, 1 September 2013

Living Room Fireplace

We've purchased a few Art Deco styled items for the Living Room.  It's all coming together now!
 
and here we have the finished article in cream stone effect and metallic grey (still looking for a new carpet).  The double socket will be moved soon to give a more even sided look.


None of the pictures taken really bring out the stone effect of the spray paint, this is the best one


The fire surround was dismantled pretty easily and it's component parts were sanded down, sprayed with a white primer then given two coats of textured spray paint to create a stone effect.

 
The inset fireplace was removed from the surround, dismantled, rubbed down and spray painted metallic grey.  The finish was a bit too matt, but a quick spray of clear lacquer put a bit of a shine on the finished article.
 
The original fireplace which was here when we moved in.  It was in good condition but the brass and mahogany colour scheme didn't fit with our décor plans, so we decided to keep it and change the colour.

Tuesday, 2 July 2013

Living Room - Feature Light & Coving

 Coving fitted, light plugged in and walls painted.  Ready for skirting to be fitted and the wallpaper to be hung.


A couple of licks of paint really brought out the stepped feature and I think that this will fit well with the intended Art Noveau & Art Deco influenced style of the room.
 

 Coving fitted and light turned on.

A piece of timber was fixed to the wall to provide a fixing for the strip lights.  The wiring for the lights was hidden by running it behind the wall and down to a socket.  It was handy that there used to be an old boiler cupboard nearby :-)   You can see that the stepped feature of the coving was created by fitting strips of plasterboard to the ceiling prior to fitting the coving.  These strips were cut at 115mm wide to protrude past the coving, with the coving extending down past the LED strip light so that it can't be seen.  Hiding the lighting required the coving to be cut and fitted as if it were being fitted around a chimney breast.
 
Once the plaster had dried work began fitting the coving.  In an earlier blog I mentioned how the original cornice had a stepped feature and we have decided to replicate this feature.  We had also decided to include a feature light which would provide some background lighting in the room.  We found LED strip lights in IKEA which were very reasonably priced.

Living Room - Feature Wall


and there we have it.  A perfectly smooth, flat and painted wall ready for the skirting to be fitted and the wallpaper to be hung.  I'll cover the coving and the light in a separate blog.
 
 Quick phone call to Paul Skilling (Senior) ,The local plasterer, resulted in a complete restoration of the wall to a beautifully smooth and perfect finish.  I know this is a DIY blog, but the plastering was beyond my skills.  I really can't recommend Paul enough.  If you're looking for a plasterer, he's the go to guy.


 The previously plastered over fireplace was a bit of a mess too, which made it even more difficult for a DIY plasterer to obtain a decent finish.  So the decision was made to call in a professional.


 Whilst fitting the frame, some of the surrounding plasterwork came away, which made it more difficult to plaster (with my limited plastering skills).


The feature wall in the living room had an old boiler cupboard which was still used as a pipe duct for the central heating.  We didn't want to have a door or any form of opening on the feature wall so decided to frame it out and plasterboard over it to create a flat wall.  Before blocking the opening off the pipes were insulated.

Monday, 20 May 2013

Living Room Ceiling 2

And there it is, ceiling lowered by 50mm, ready to be taped and filled and ready to have the new coving fitted. Before you ask, No, the light fitting is not staying!

The other 'half' of the living room required sheets which were 1.8m in length, which was slightly shorter than the length of the staging.  Therefore I had to change my method for lifting the sheet in place and I used two lengths of 50mmx50mm timber to support the sheet along its length, lifting it up into its final position using two pieces of timber across the 50mmx50mm.

I repeated the process for each sheet and before long one 'half' of the living room was done!

With the sheet lying across the staging, I lifted it up into place using some spare 50mmx50mm timber.  This brought the sheet in at almost the perfect height and with some minor movement left-right, forwards and backwards it was ready for securing in place.  I had the option of nailing or screwing and i opted for screwing as it allowed me to fully control the incremental tightening in place as I worked across the sheet, it also resulted in much less vibration and a lot less noise.

I borrowed the staging from my father-in-law and conveniently it was only 125mm shorter than the finished height of the new ceiling.  To protect the plasterboard and support it prior to fitting I taped 2 planks of wood across the uprights of the staging then lifted the plaserboard up and slid it across onto these.
 
 
After studding out the ceiling it was time to start fitting the 8'x4' sheets of plasterboard.........myself!

Living Room Ceiling 1


Timber studs and dwangs (a nogging if you're from Englandshire) all fitted at 600mm centres and ready to receive new plasterboard.
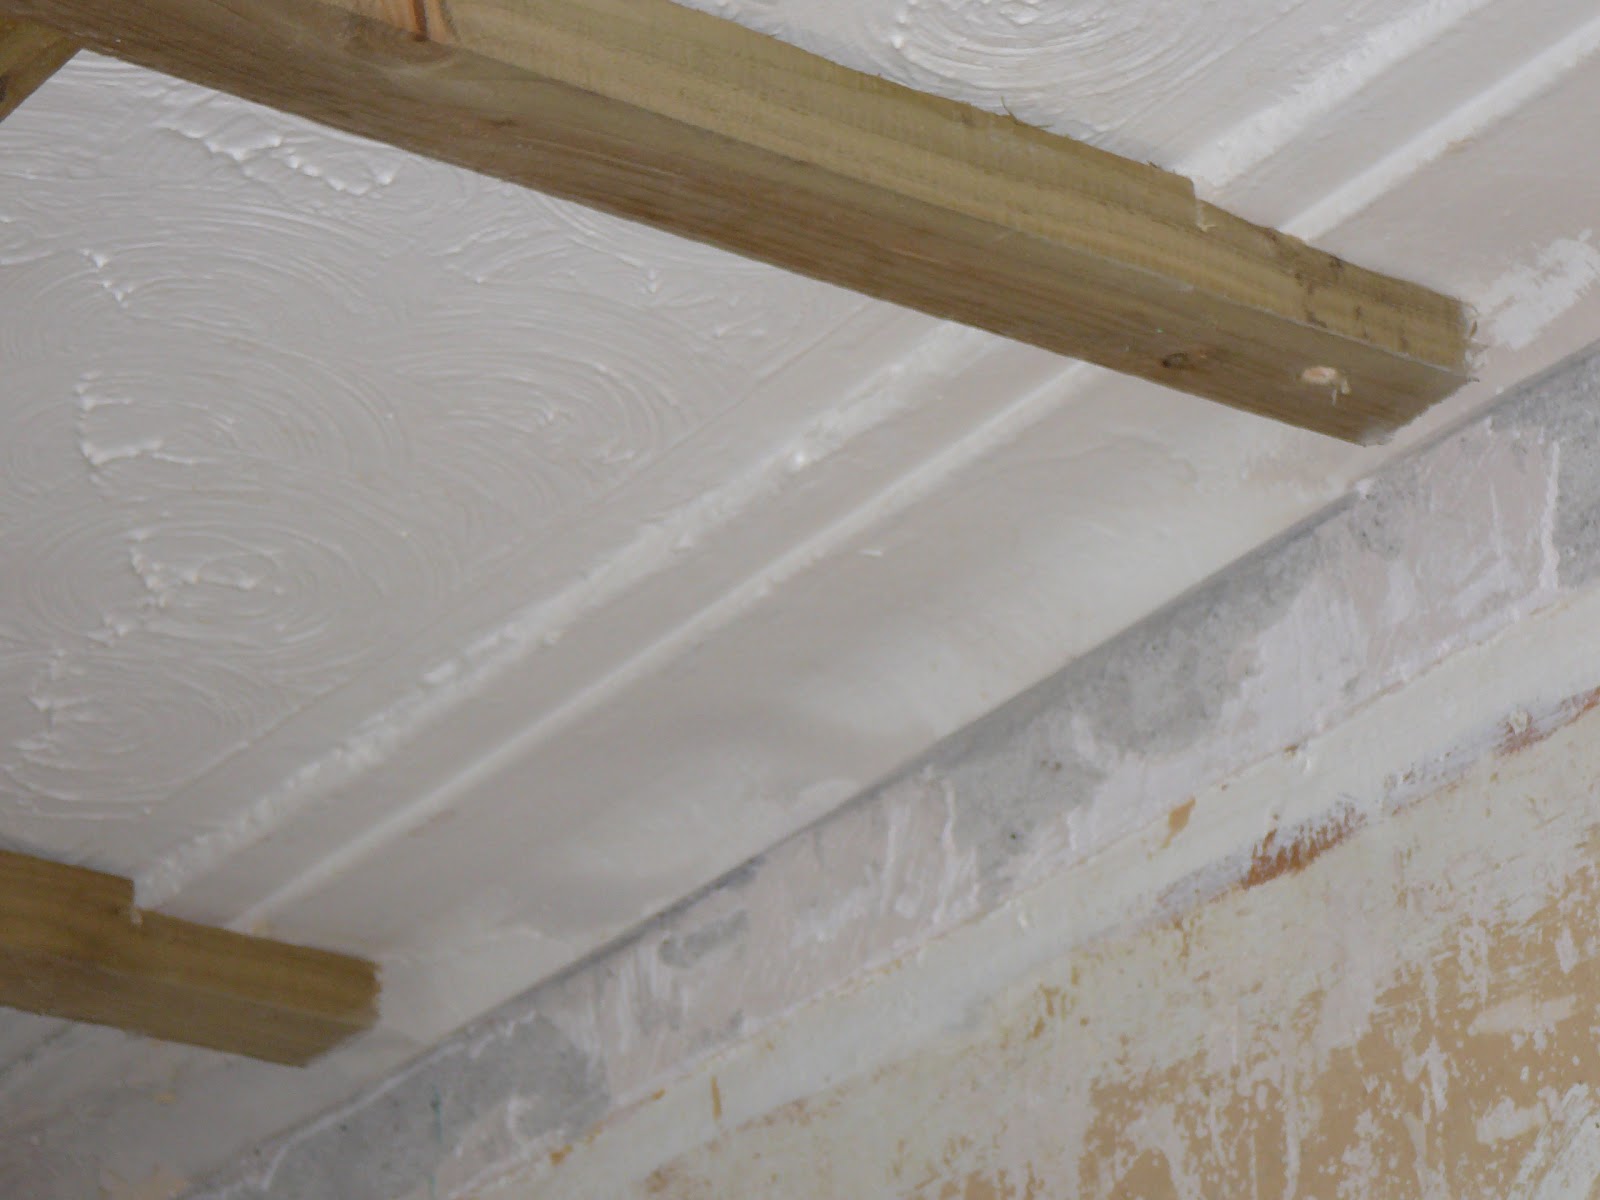
The new timber studs were 'step cut' to fit round the existing plaster cornice to ensure that the new plasterboard had a fixing near its edge. You can see the 3-4 inch reduction in the cornice and it seems a shame to do this, but you can also see that it is thick with artex and paint and that to plaster over the artex would have lost the stepped feature.
The existing floor/ceiling joists were marked out and new 50mmx38mm timber studs were fitted at right angles to the joists at 600mm centres to ensure sufficient fixing for the plasterboard.  The studs were fixed by screwing through the ceiling into the joist with 3" No.10 screws.
The cornice was the original solid plaster type with a nice step feature but unfortunately it had several coats of paint on it and to plaster over the artex would have meant losing the step feature.  The ceilings in the house at 2.6m are higher than modern ceilings so the decision was made to lower the ceiling 50mm by fitting timber studs and plasterboard.  To ensure that the existing plaster cornice wouldn't obstruct the new celing and coving it had to be trimmed by 3-4 inches all round, quite a dusty job!


Decor was OK.  Artex is a bit heavy and the coving and woodwork has several coats of paint on it.  Previous owners were smokers and the paintwork suffers from considerable nicotine staining.


Time to start work in the new house and we've decided to kick things off in the living room. The decoration was OK, just not our style, so the plan is to completely change the style of the room by creating a feature wall and using light colours and flat surfaces to bring a bit of brightness to the room.

Friday, 17 May 2013

Previous Work - Hall Ballustrade

Job completed, including solid oak flooring, new skirtings and facings, oh and a piano!
This job included lining the stairwell walls and ceiling with plasterboard to save having to strip a horrendous amount of woodchip wallpaper which had several coats of paint, not to mention improving the fire protection around the staircase.   Original stringers were retained and overclad with pine furniture board, downlights were fitted in the lower hall along with new coving.
Works at halfway stage.
1970s stringer style ballustrade stripped out. Walls lined with plasterboard, taped and filled and 1st coat of emulsion.