Monday, 20 January 2014

Stairway To Heaven (well, upstairs actually)...........but not the bedroom!

 
Needed to make a small staircase and fortunately my brother had a couple of spare planks of wood which were perfect for use as the stringers and treads. 

I set up a simple jig using some pieces of scrap wood to ensure that the same angle was maintained for each of the tread grooves.  The jig simply slid up and down the length of the stringer and was screwed into place.

Each tread groove was recessed by 5/8" and even my relatively cheap router managed the job no bother, taking out approx. 1/4" on each pass.

Whilst it looks as if i'm making this on the living room carpet, I'm actually making this in the garage and have laid the old living room carpet in there to make it easier on my old knees.

Once i'd cut all the treads to the same width and length I gave them a quick sand a chamfered the front edges.  Plenty of glue and 3 screws in each side of the tread through the stringer should ensure that it's sturdy enough.  I laid it on it's side and left it with weights on it overnight to ensure that it didn't twist or separate whilst the glue was setting

The finished article, an open tread staircase ready to be varnished then fitted in place.

Tuesday, 24 December 2013

The New Kitchen - Part 2: The Fitting

 
The units that I had previously assembled were sat into position then levelled and squared up as required.  The handy clamps are great for holding units together whist they are bolted together (cheers James)

 
The sink was a 'two man job' and had to be fitted in place before the worktops, which meant protecting it and a bit of careful working was required. 

 
You can see the wiring for the new sockets in this pic and if you look carefully you can see the pull out corner accessory which allows us to make full use of the previous 'dead space.'  The new wall units are 920mm high, giving an overall height of 2.4m from floor to ceiling, which increases the storage space considerably.


The under unit LED strip lights are also from IKEA and are the same type as the ones we fitted behind the cornice in the living room.


Doors fitted to the wall units and eye level microwave in place.  Still a bit of work to do, but it's starting to look like a kitchen now.


Double oven fitted in a high level larder unit.  This saves anyone having to bend over in the limited space to try get things out of a floor standing oven.  As with the left-hand corner you can see the pull out corner accessory which allows us to make full use of the previous 'dead space.'
 

We chose a double sized Belfast style sink to create a central feature in the narrow kitchen.  The corner pull-out accessories swing round then slide fully out, providing full access to the storage in the corner space.
 
 I have to say that i'm very impressed with the quality of the IKEA kitchen components for the price (e.g. solid wood framed doors, metal framed drawers with 15mm drawer bases and ball bearing drawer runners) and how easy the units and components were to assemble.  The appliances were also very good value for money (particularly with 25% off) with a good range of features on the oven and microwave.
 
I suppose time will tell how good the quality and VFM really is.
 
The kitchen installation is finished (in time for Christmas), but we've still to do the tiling and a wee it of painting and decorating.  Pictures of the fully finished article will be published in the new year. 
 
Have a happy Xmas and New Year and thanks for reading my blog.


The New Kitchen - Part 1: The Strip Out

Finally got round to ordering the new kitchen.  With a Christmas deadline for installation.


We chose an IKEA kitchen and when it was delivered I was pleasantly surprised to find that  every individual package was coded, which made it very easy to check against the order list and easy to keep track of which part goes with which when the units were being assembled. Not one thing was missing.  Well done IKEA.


 Our kitchen certainly isn't the biggest we've ever had, which made it even more important to make the most of the little space we had.  The washing machine was moved downstairs into the utility room to give us more room and open up the 'dead space' corner.


Whilst the kitchen is quite small, the ceilings are quite high, which meant we could go for relatively tall wall units to increase the storage space.  As with the right-hand side corner the left-hand corner was also 'dead space'.


 A final look at the kitchen as it was.


The strip out starts! 
Prior to starting the strip out at the weekend, I had been assembling the new units in another room during the week due to a general lack of space (did I mention that the kitchen is quite small) and to reduce the time we spent without a working kitchen as we were still living at home during the work.


You can see the amount of wasted space in the corner, it's pretty much the size of a whole 600mm unit and apart from poor planning, I don't really know why the previous designer/fitter didn't make use of it.  You can also see the former serving hatch through to the Dining Room..


Well, that's the strip out complete and yes, we did feel it necessary to take down the fake blind/fixed curtain thingy, and no, it won't be going back up.  Next step was for the electrician to come in and re-wire the kitchen, fitting new sockets, appliance isolation switches and upgrading the mains fuse box to take the necessary new 'ring main.'
 
It's amazing how big the room looks when it's empty........Not!

Monday, 18 November 2013

Can Ye Tell Whit It Is Yit?

 I had a wee notion to make something out of the various bits of wood that were leftover from other projects
 

A quick brush with undercoat

Pieces to form the integral squares were marked and cut
 
(can ye tell whit it is yit?)
 

A quick coat with the final colour to ensure complete coverage once put together

Here are the pieces being assembled in their final form

Final shape and final coat of paint
Just one more small part to be fitted
 
(can ye tell whit it is yit?)
 
 
.......


.......


.......


.......


A shabby chic lightshade for my daughters bedroom

Sunday, 27 October 2013

Dining Room Door Replacement

Following on from replacing the living room door last month, we have now replaced the adjacent living room door with it's matching partner.

The old doors weren't in a particularly bad condition, we just wanted to change them to something that matched our planned décor.

The oak veneered doors which we bought needed to be reduced in width.  The previous door had to be reduced by approx. 3/4" and unfortunately this couldn't be done due to the thin edging strip on these doors, so I had to widen the door frame.  However, this door only had to be reduced by 1/2", so I decided to use my electric plane to take 1/4" off of each edge.
As you can see, there's not much of an edging left after taking 1/4" off.

I fitted the hinges in the workshop before taking the door into the house for hanging.  I'm using three 3" stainless steel ball-bearing hinges on each door because the doors are quite heavy and i'm spacing these to position two in the top half of the door and one in the bottom half (8" up from the bottom).  These should give a smooth action and minimise hinge wear and the finish will also match the handles. 
 
The latch and art deco handles were also fitted in the workshop prior to hanging.  This kept the majority of the mess in the workshop (which is easier to clean up)

and there we have it, the door hung and ready for its 1st coat of varnish.  As before, the door was brushed down to remove dust and then wiped down with a clean cloth soaked in white spirit.

The camera angle is a bit tight, but here are the two doors side by side. The right hand side door has been varnished, the left hand door is ready to be varnished.

First coat of varnish applied.  Before the 2nd coat is applied the door will be gently rubbed down with steel wool then wiped down with white spirit to give a nice smooth finish coat.

Sunday, 20 October 2013

A Wee Quickie In the Cupboard!

One of the bedroom cupboards didn't offer much room for storage
 
The cupboard backed onto an area of wasted space above the stairs and I decided to blank off this wasted space and knock the cupboard through to provide more storage.


This may prove just to be a temporary job if the plans for a loft conversion can be progressed.

First step was to frame out the space.  I used some 2" x 1 1/2" leftover from another job.  I also framed out the slope directly over the steps. 

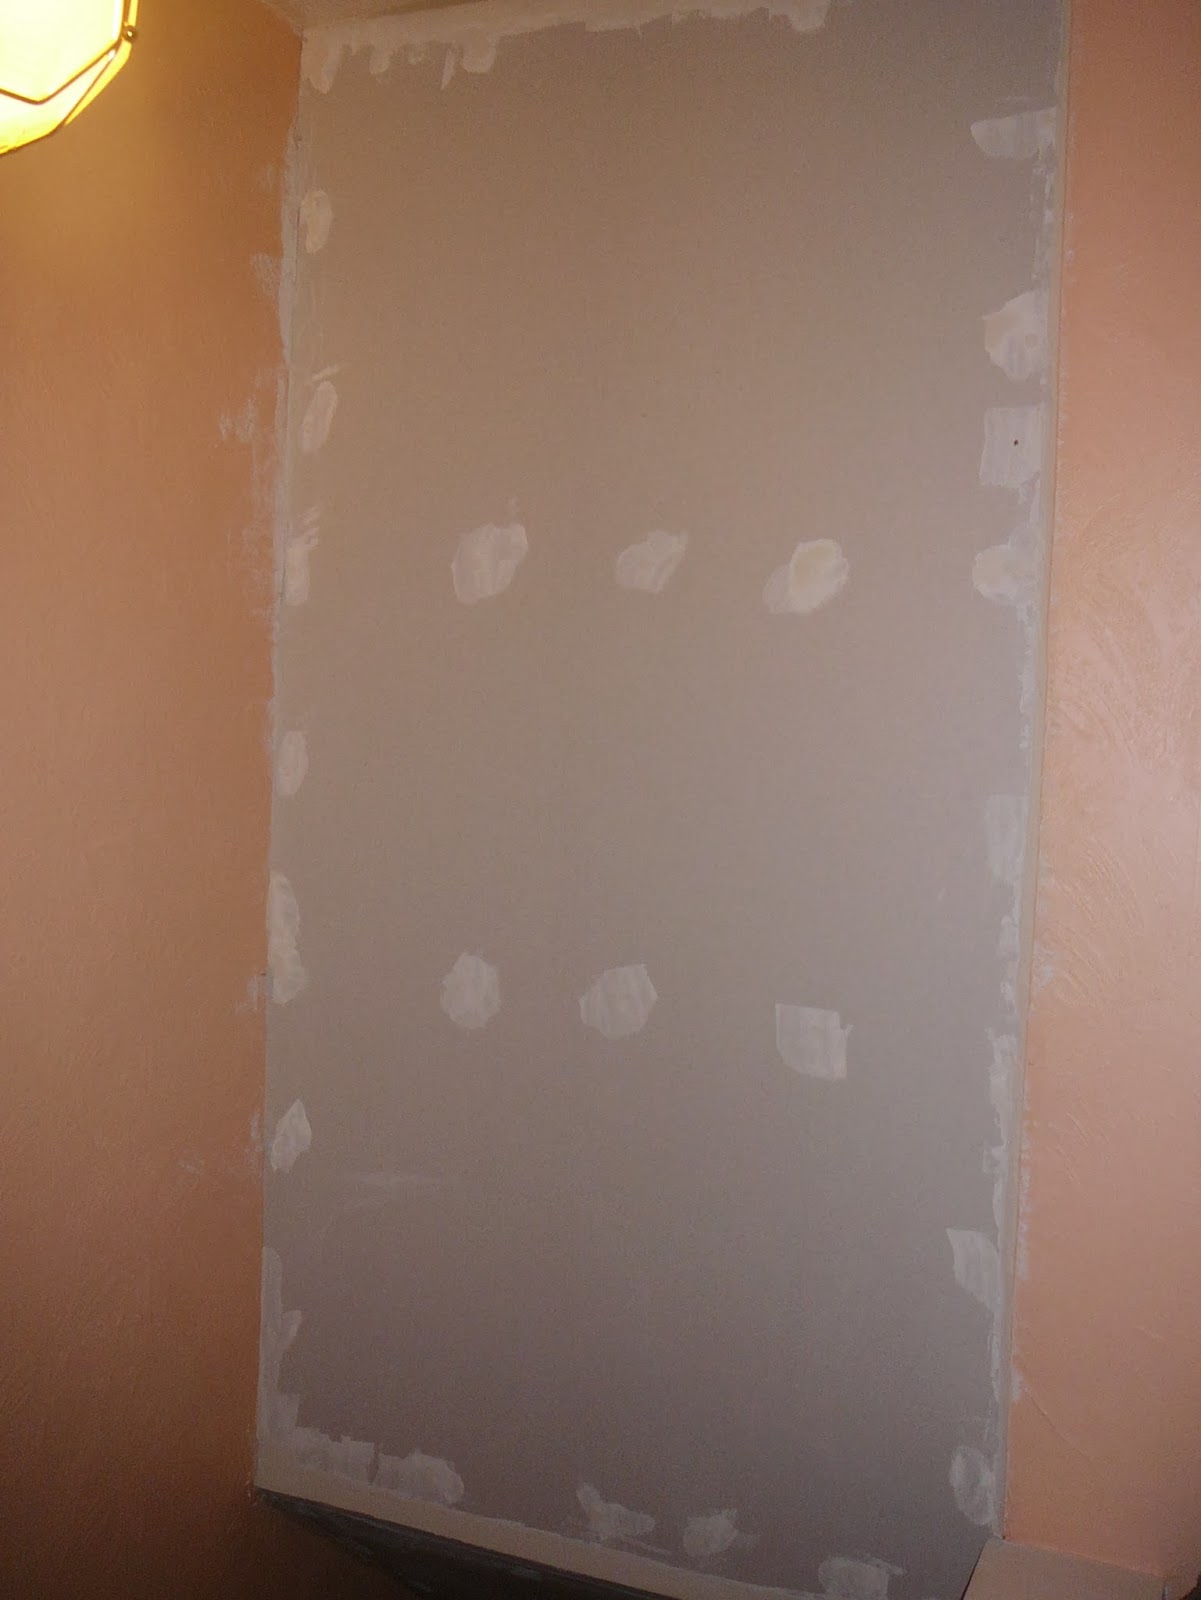
After sheeting the area above the stairs in plasterboard I knocked through from the cupboard and also sheeted the inside of the cupboard in plasterboard to give a finished surface.

Once sheeted the screw holes were filled, ready for a wee rub with sandpaper and eventually a coat of emulsion.

Job completed and the cupboard was promptly filled with a load of kids toys!

Monday, 7 October 2013

New Living Room Door

The new living room door getting it's first coat of Ronseal satin varnish.  Prior to varnishing I gave the door a quick rub with fine sandpaper then wiped it down with white spirit to remove the dust and remove any greasy fingerprints or dirty marks.  I've masked off the glazing panels to keep the varnish off of the glass. 

One door hung.  Looks simple in the pics, but it was a lot trickier than it looked.  The oak edging on these doors is only about 5mm thick which really limits how much you can reduce the door by and I required a 12mm reduction.  The only other option, other then renewing the door frames, was to widen the opening.  I used the router for this, but wouldn't want to have to do it again in a hurry. 

A set of Art Deco handles was purchased to match the 'theme' of the room
 
and they polished up nicely.


and there we have it.  A nice new oak door, complete with 2nd coat of varnish which was applied after a gentle rub with steel wool and a wipe down with white spirit.