Sunday, 2 February 2014

The New Kitchen: Part 3 - Never Did That Masel

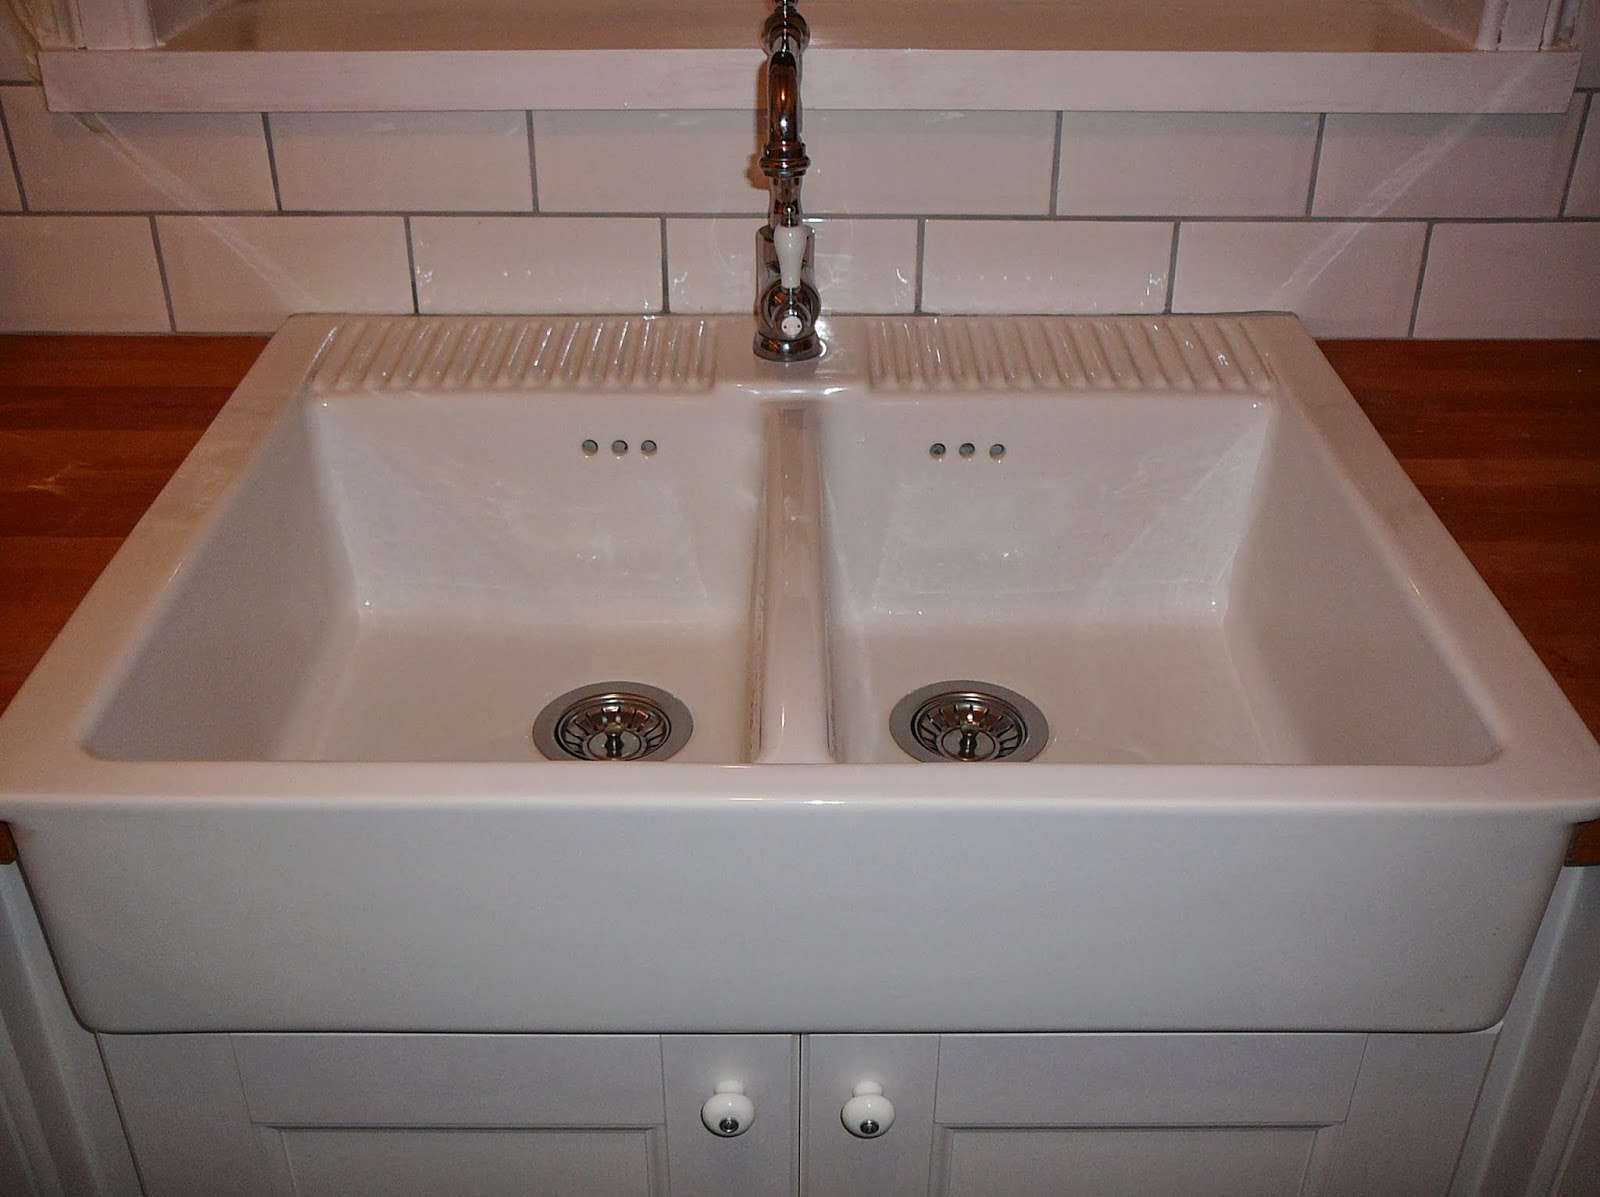
I was very happy with my work installing the kitchen, however I knew that my tiling abilities weren't fantastic and I was worried that my efforts would look a bit iffy.  So, a quick phone call to one of the best tillers in the town and hey presto a fantastic job!

We choose brick style tiles which have tapered edges.  We found them on sale in Homebase at a very reasonable £12 per square metre.  Thanks to Nicky at NB Tiling for firstly sorting out the walls and then doing such a brilliant job with the tiles.

In fact, Nicky done such a great job with the wall tiles we asked him to do the floor tiles too.  Again, we found the tiles we wanted in Homebase at a very reasonable £20 per square metre.  The photo doesn't show the tiles to well.  They're textured slate style porcelain tiles and are a lot darker than they look in this photo.  I laid plywood on the floor to give a sound surface to tile on and this was fixed in place with 25mm annular ring nails in a 4" nailing pattern, in fact I think I ended up with more nails than wood in my floor.
 
So, not quite Dae It Yersel, mer like made a phone call masel.  Anyway, it's still looking fantastic thanks to Nicky.
 

Monday, 20 January 2014

Stairway To Heaven (well, upstairs actually)...........but not the bedroom!

 
Needed to make a small staircase and fortunately my brother had a couple of spare planks of wood which were perfect for use as the stringers and treads. 

I set up a simple jig using some pieces of scrap wood to ensure that the same angle was maintained for each of the tread grooves.  The jig simply slid up and down the length of the stringer and was screwed into place.

Each tread groove was recessed by 5/8" and even my relatively cheap router managed the job no bother, taking out approx. 1/4" on each pass.

Whilst it looks as if i'm making this on the living room carpet, I'm actually making this in the garage and have laid the old living room carpet in there to make it easier on my old knees.

Once i'd cut all the treads to the same width and length I gave them a quick sand a chamfered the front edges.  Plenty of glue and 3 screws in each side of the tread through the stringer should ensure that it's sturdy enough.  I laid it on it's side and left it with weights on it overnight to ensure that it didn't twist or separate whilst the glue was setting

The finished article, an open tread staircase ready to be varnished then fitted in place.